
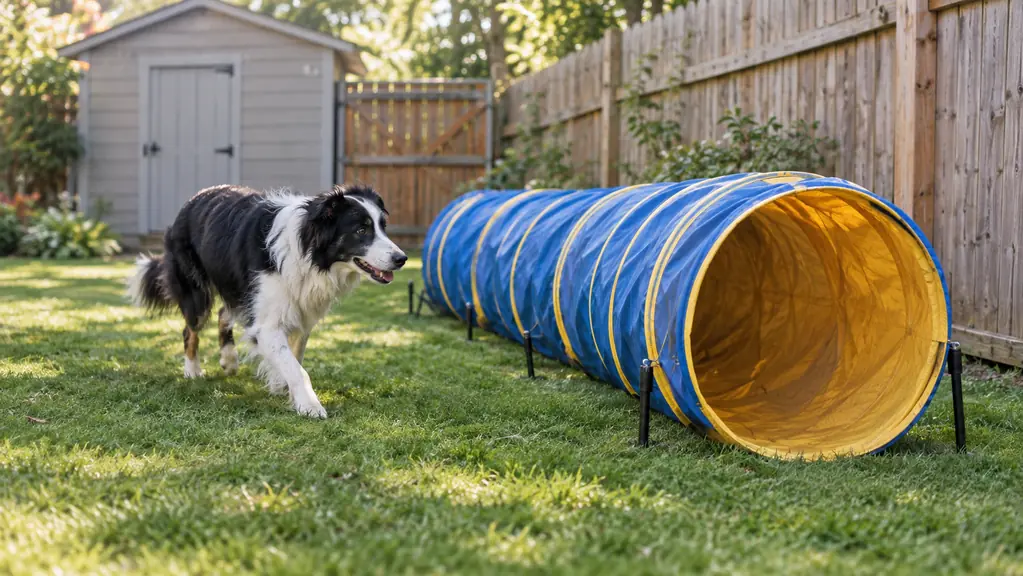
A tunnel looks like the easiest thing on the field. It is a tube. The dog runs through the tube. That was my thinking 18 months ago when I unrolled the HDP 18 Ft Open Tunnel on the grass in my back yard, and Juno, my border collie mix, stopped about six feet away and stared at me like I had asked her to walk into a car wash. She weighed 28 pounds, stood about 17 inches at the shoulder, and she had never seen an agility tunnel in her life.
Two weeks and four short sessions later she was running the full length without slowing down. The gap between that first evening and the fourth session is what this page is about. Juno was not afraid of the tunnel. She could not see the far end, and nobody had told her there was a way out. Almost every dog I have watched at our Saturday club stalls on the same thing. Not the tube itself, the not knowing. What follows are the five steps I actually did, in the order I did them, with the HDP tunnel I still set out twice a week in a back yard that is 40 by 60 feet and slightly sloped.
The tunnel that made the first step possible, because it can be made short
The HDP 18 Ft Open Tunnel is the one I own and the one every step below was built around. Spring steel frame, a Dacron cover, a 24 inch opening and a carry case, and it presses down to a fraction of its length when you need a dog to see daylight at the other end.
Amazon Check today's price on Amazon →Step 1: Shorten the tunnel before you stake anything
The listing says 216 inches long, 24 inches wide and 24 inches high, and 2.4 pounds. Eighteen feet of dark tube is a huge ask for a first attempt, so do not make that ask. The frame is spring steel inside a Dacron cover, which means the whole thing presses down like a concertina. Walk to one end, push the mouth toward the other end, and keep going until the cover folds over itself in even rings. On my first evening I squeezed mine down to roughly five feet. That is the entire step.
Five feet is not a compromise, it is the point. At that length a dog standing at one mouth can see grass through the other mouth. There is no middle to disappear into. The first time I set it up short, Juno dropped her head, trotted over to check the opening, and shoved her nose about a foot inside without me saying a word. That single nose shove told me more than any amount of standing around looking encouraging would have.
Do not stake the tunnel while it is folded short. The stakes are for the long version. Folded down, it holds its shape fine and you can move it around the yard as the dog gets comfortable. Mine spent the first two weeks near the shed, in the shade, well away from the jumps. Juno needed four sessions across those two weeks before she ran it without stopping. I would rather have had two boring weeks than one bad afternoon.
Step 2: Let the dog inspect it with no ask attached
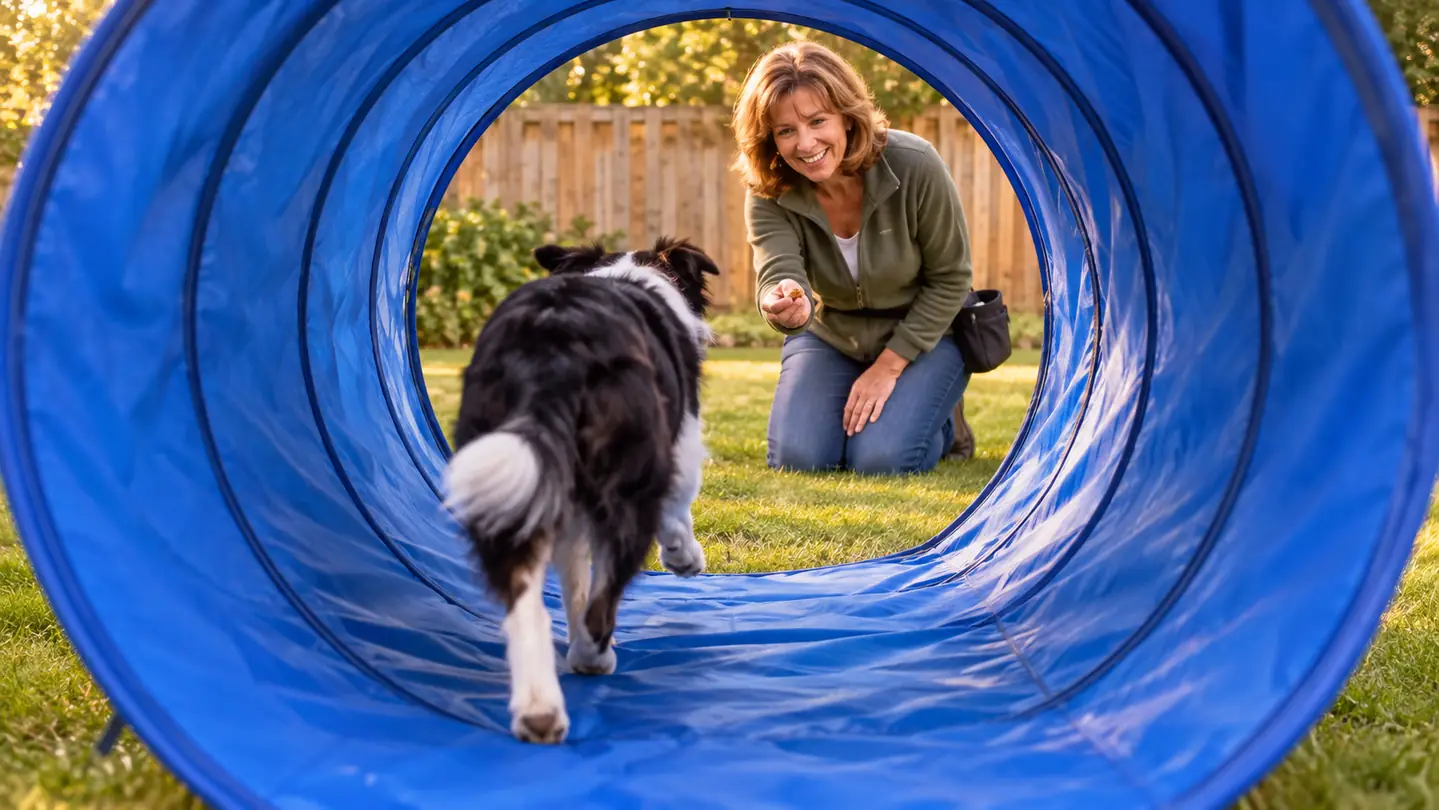
This is the step people skip, and it is the step that does the work. Put on the treat bag, walk out with the dog, and sit down on the grass near the mouth of the short tunnel. Do nothing. No patting the inside of the tunnel. No tossing a treat through it. No cheerful you can do it voice. The tunnel is new and it smells like a warehouse and it moves a little in the breeze, and a dog is allowed to work that out on her own clock.
What I did was simple. Treat in my fingers, held low and near the ground at the near opening, not inside. Juno took it. I fed her a second one a few inches closer. When she put her head in, I fed her again. Then I stood up and walked away. Total time, about four minutes. I did that on the Tuesday and again on the Thursday, and on the Tuesday after that she was pushing her shoulder into the tunnel mouth before I had my hand in the bag.
Read the dog, not the clock. A dog who sniffs the mouth, dips a paw in, backs out and comes back for another look is doing fine. A dog who leans away, licks her lips and refuses to face it is telling you the step was too big, so fold the tunnel shorter or move it to quieter grass. Juno is a busy, nosy dog, and she still needed two full sessions of just looking before I ever asked her to go anywhere near the far end.
Step 3: Stand at the exit, not the entrance
Here is the practical problem for anyone training alone. There is nobody at the far end to call the dog. I live on my own, no one else trains with me, so I had to be the person at both ends and that does not work. So I chose the end that matters. I stood past the exit, off to one side, kneeled down, and put a treat right at the far mouth where she would come out. Then I let her find her own way in.
The first honest repetition was not a run. Juno put her head in, then her shoulders, then her whole front half, and stopped with her back end hanging out. I fed her at the exit anyway, because she had gone in and come out and that was the job. Two days later her back feet cleared the last ring. The treat always landed on the grass at the far end, never inside the tunnel, so the tunnel never became a place to stop and stand and wait for a snack.
If your dog stalls halfway, resist the urge to walk to the near end and pat the cover to hurry her along. That noise and movement behind a dog is exactly what makes a tunnel feel like something that might chase you. Wait her out, or fold the tunnel shorter again for the next go. Nearly every stall I have watched, mine included, was solved by shortening the tunnel, not by more encouragement.
Step 4: Add length, then a gentle curve
Once the five foot version is boring, which is a good thing, add about a foot at a time. Pull one end out, smooth the cover so it does not bunch, and run the dog again. Two clean runs, add another foot. It took 4 sessions over 2 weeks before she ran it without stopping, and I kept lengthening it on Tuesday and Thursday evenings after that until it was at full length. Each time, the first run after lengthening looked slightly careful and the second looked normal. That is how you know the step was small enough.
Stake it as soon as it is longer than a few feet. This tunnel weighs 2.4 pounds and a moving dog moves it. It comes with eight stakes about 7 inches long, and you push them through the grommets along the bottom edge into the grass. Mine is always staked now, all eight, even on a still evening. Setting it out takes me about five minutes from opening the shed to the last stake going in.
The curve comes after straight. Twelve feet of straight tunnel is easy for a dog because she can see through. Bend it gently, maybe two feet of offset across the length, and the sight line breaks. That is the moment the job changes from running into a hole to trusting that the hole goes somewhere. Juno slowed the first time I bent it and then picked the pace back up on the third repetition. Mine now sits at close to full length in a gentle curve along the fence side of the yard, and that is where it stays.
Step 5: Put the tunnel after the jumps, and end with tug
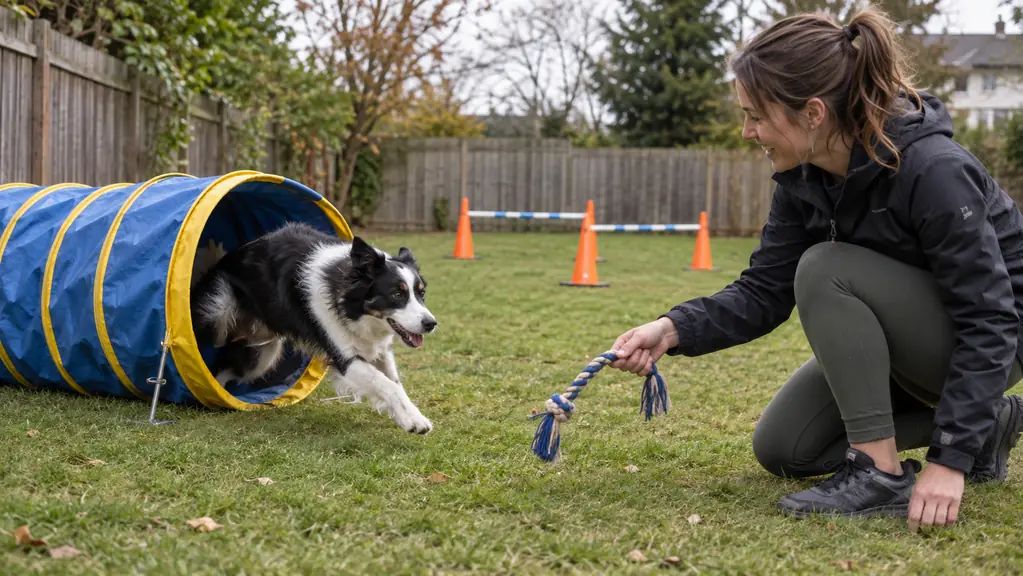
A tunnel on its own is a trick. A tunnel after two jumps is a sequence, and a sequence is what a dog remembers. My Tuesday and Thursday sessions are about 15 minutes. I set out the jump cones in a short line, run the jumps, then send her to the tunnel, then reward. Same order every time. Juno learned the tunnel as the last thing in a chain, which means she now drives into it rather than wandering in looking for a snack.
Food comes from the treat bag during the run. Play comes at the end. The rope tug lives in the side pocket of the bag or in my hand, and when a sequence goes well she gets about ten seconds of tug and then it goes back into my hand. That split matters more than any single piece of gear. The food marks the moment, the tug marks the end of the job.
Last piece of step five: stop while it is going well. If the second run is clean and quick, pack up. The temptation is always one more, and one more is where a good session turns into a flat one. I have quit sessions after eight minutes because Juno was sharp and quick, and I have never once regretted it. Walking away on a good repetition is what makes the next Tuesday easy to start.
What Else Helps
Wear the treats where your hand falls. I spent two months before I bought a proper bag, fumbling in a jacket pocket that smelled of chicken, and my timing was terrible. The bag I use now sits on an adjustable belt on my right hip, holds enough small soft chicken treats for a full session, and closes with a magnet so I can get a hand in and out without looking. Cut the treats to pea size. A big treat means a dog who stops to chew in the middle of the tunnel.
Keep the jumps low and the tunnel close together. My jump cones are set at 8.5 inches for the work we do at home, and that is deliberate. Clean, easy, repeatable is worth more to me than height. Juno tried the top setting a handful of times and went back down, and so did I. A dog who is confident over a low bar carries that confidence into the tube.
Look after the tunnel and it will look after your sessions. Mine picks up mud and grass, and after rain it holds water in the folds, so it comes out of the shed, gets set up, gets used, and then goes over the fence to dry before it goes back in the case. It has never been left out overnight. Nothing on it has torn in 18 months. And none of it replaces a walk. Juno still gets her walks, and the tunnel is 15 minutes twice a week on top of that, not instead of it.
Four sessions across two weeks, about five minutes each, and she went from stopping dead at the mouth to running the whole length without breaking stride.
Start short, stake it, and let the dog find the far end
The HDP 18 Ft Open Tunnel folds down small enough for a first attempt and stakes out long enough for a real sequence later. Eight stakes, a carry case, and a five minute setup in a back yard this size.
Amazon See the HDP tunnel on Amazon →